Hairstyle
Step-by-step look at getting the bi-texture look
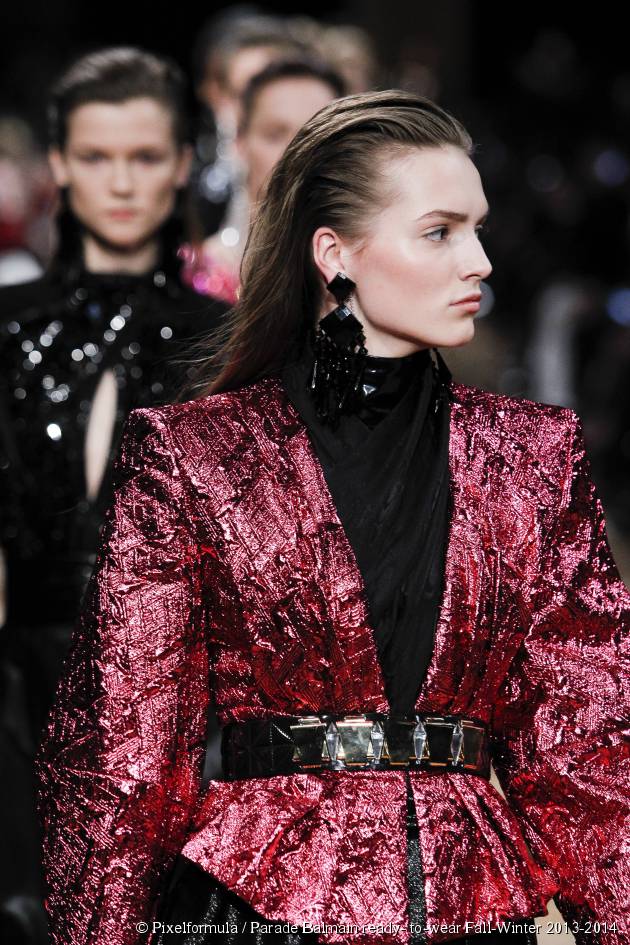
A bi-texture look displays roots with a wet effect and natural looking half-lengths and tips. This effect, popular for a few seasons now, is trending. This version is like a localized wet look effect.
Step 1:
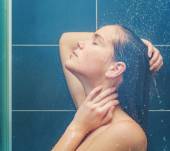
After washing your hair, softly blow-dry it. Remember to protect your hair with a thermo-active product. Apply the product on damp hair before even turning on the hair dryer.
Step 2:
Once the blow-dry is done, part your hair your usual way. With a styling wax, draw your hair to the back of the head. Form a shell on the top of the head with your hair. The upper side of your hair is fixed and has the wet look effect due to the wax. Do not overdo it with the product. You don’t want a wet effect that looks like greasy hair!
Step 3:
Only the upper part of your hair should have the wet look. The bottom should look natural without any product other than a drop of serum to embellish the tips. The key is seeing an obvious texture difference between the top and bottom of your hair.
Step 4:
Adopt the “disheveled trend” to your bi-texture look. This guarantees a neo-grunge yet modern hairstyle.
Not to be missed
-
 Hairstyle New: Urban Style Perfect Curls
 -
 Hairstyle Fringes come in all lengths
 -
 Hairstyle Focus on Japanese straightening
You would also like...
-
 Hairstyle Spring ponytail
 -
 Hairstyle Crimps for a retro hairstyle
 -
 Hairstyle The wet look, still stylish
 -
 Hairstyle Give me wavy hair, quick!
 -
 Hairstyle The timeless long bob
 -
 Hairstyle The ballerina bun
Most read
-
 Hair colouring What are the differences between streaks and highlights?
 -
 Hair colouring How do I choose between coloring and highlights?
 -
 Damaged hair Why does my hair look fluffy?

 France
 Spain
Spain
 Italy
Italy
 Polska
 Portugal
 Mexico
![[EN] Jean Louis David [EN] Jean Louis David](https://www.jeanlouisdavid.us/app/themes/jld/dist/images/svg/logo-jean-louis-david.svg)
