France
 Spain
Spain
 Italy
Italy
 Polska
 Portugal
 Mexico


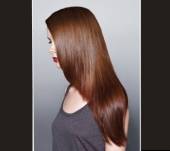
Hairstyle
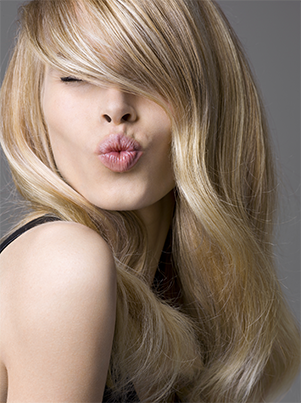
New: Urban Style Perfect Curls
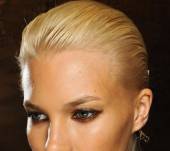
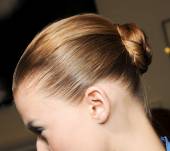
Hairstyle
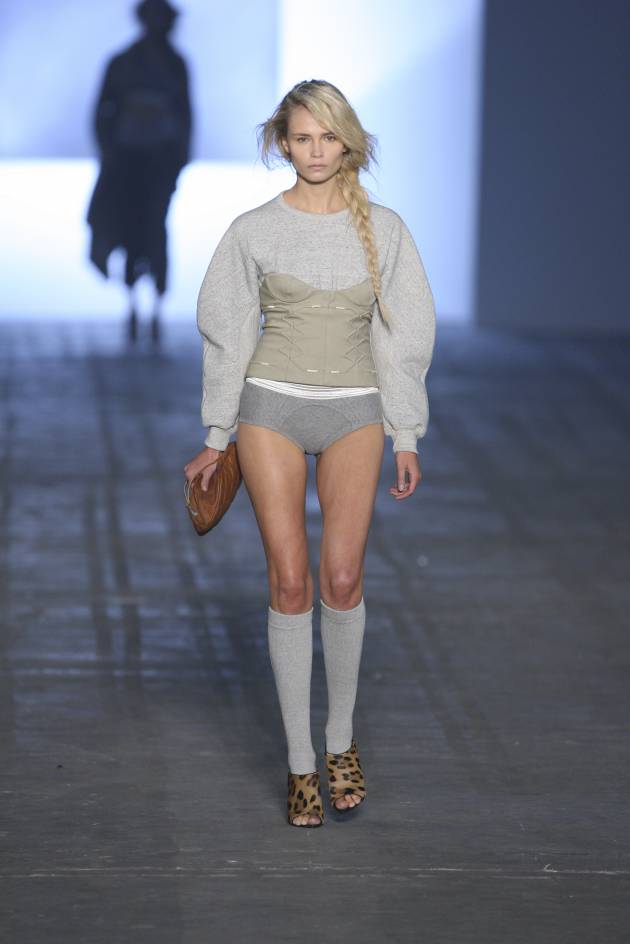
Boho and romantic, the side braid has been a favourite summer hairstyle for a good few seasons now. This easy-to-create style is great for long hair. Is your hair a bit on the short side? Why not get extensions!
Here’s our step-by-step advice on how to create a side braid
Step 1:
The side braid can be created on straight or wavy hair. Your hair type will not affect how your braid looks. Create a centre parting to follow the trends, or a side parting, depending on the way your hair falls.
Step 2:
For maximum impact, create volume at the roots. Backcomb your hair for added texture and to give the braid that something extra.
Step 3:
Decide on which side you want to create your braid. The side braid is usually created on the side opposite the parting, where your hair is now thicker. For a boho effect, leave a few pieces loose around your face. Plait your hair as you would a classic 3-strand braid. Separate your hair into three sections then start braiding, passing the side pieces alternately over the middle strand.
Stage 4:
To finish your braid, secure it at the ends. Use a bungee band or a ribbon for a gentle, feminine touch.
Stage 5:
To make sure your side braid stays in place impeccably, spray hairspray across the whole style.
© Pixelformula Alexander Wang Prêt-à-Porter show, Spring-Summer 2010 © Jean Louis David