France
 Spain
Spain
 Italy
Italy
 Polska
 Portugal
 Mexico

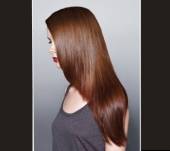
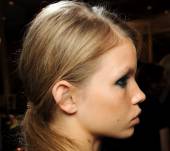
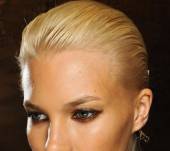
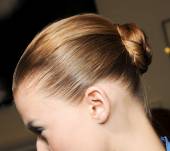
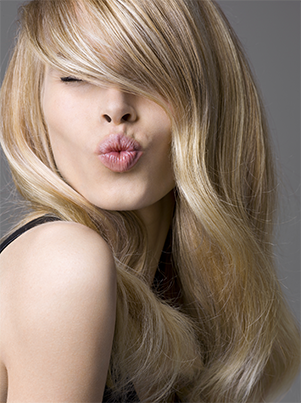
Hairstyle
New: Urban Style Perfect Curls
Hairstyle
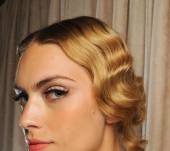
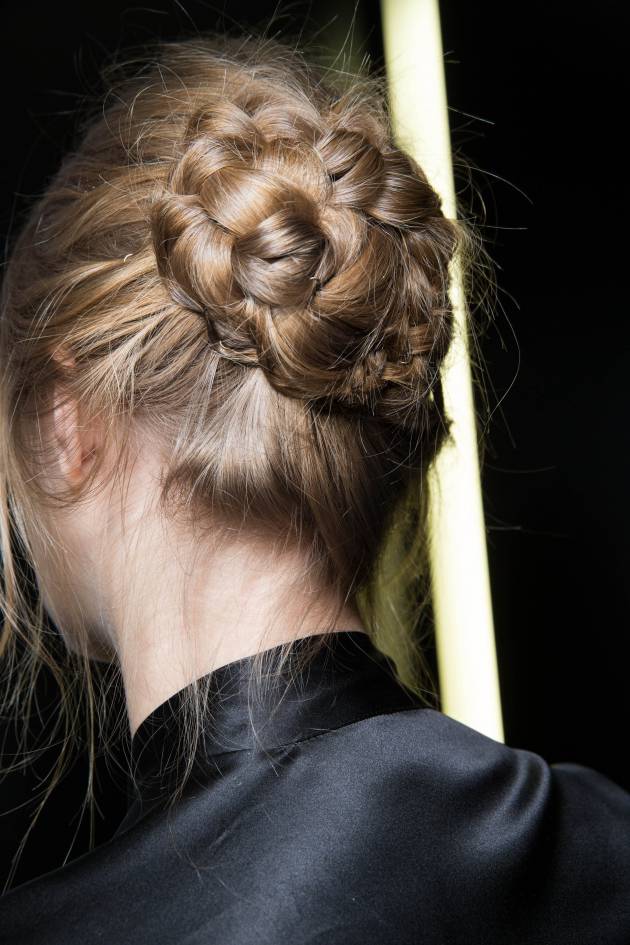
Not a fan of spending hours in the bathroom styling your hair but want to create something that extra bit special this season? Allow us to present to you the braided chignon in 3 simple steps…perfect for those of you in a hurry.
Step 1: braid your lengths. Decide where you want your chignon to sit. Choose from the nape of the neck, on top of the head or even to one side, then create a ponytail there. Next, braid your lengths, without pulling too tightly on the scalp. Your braid should look fairly neat at this stage, and not be too loose, otherwise your plait effect will not be visible once secured into position. To fix your braid into place, secure at the base and the ends with a fine hair elastic, similar to your hair color, to create a barely-there result.
Step 2: wrap your braid around itself. Start twisting your braid whichever way you want around the base of the ponytail. You can keep this flat or alternate the effect for more volume. Leave some space for teasing later and try to tuck your ends away neatly to disguise your hair ties. To secure your braided chignon into place, whether you’ve opted for a round, oval, asymmetric or long version, take some bobby pins or fine hair clips and start pinning until you feel that your bun is firmly secured.
Step 3: choose between neat or messy. After securing your chignon, you can now add the finishing touches to perfect the look. Depending on your individual preferences, you can choose to keep your overall style very neat and minimise the amount of flyaways escaping your chignon by using a strong hold hairspray. On the other hand, you may prefer to opt for a more bohemian-chic finish by relaxing your chignon and teasing certain sections for a more dishevelled look. For a biker-chic technique, gently pull on strands from the front of your style to loosen things up and add an edgier feel. Those who don’t have much time to style their chignon can stop at step 2. This updo has enough character on its own to make an impact.
© Pixelformula / Défilé Dolce & Gabbana prêt-à-porter runway, Autumn-Winter 2014-2015 © Jean Louis David