France
 Spain
Spain
 Italy
Italy
 Polska
 Portugal
 Mexico

Hairstyle
New: Urban Style Perfect Curls

Hairstyle
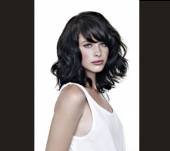
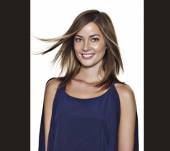
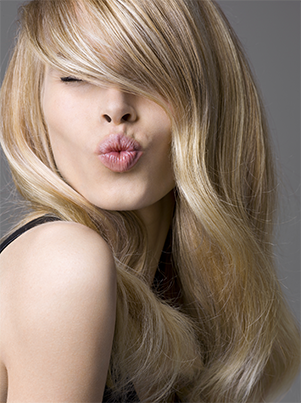
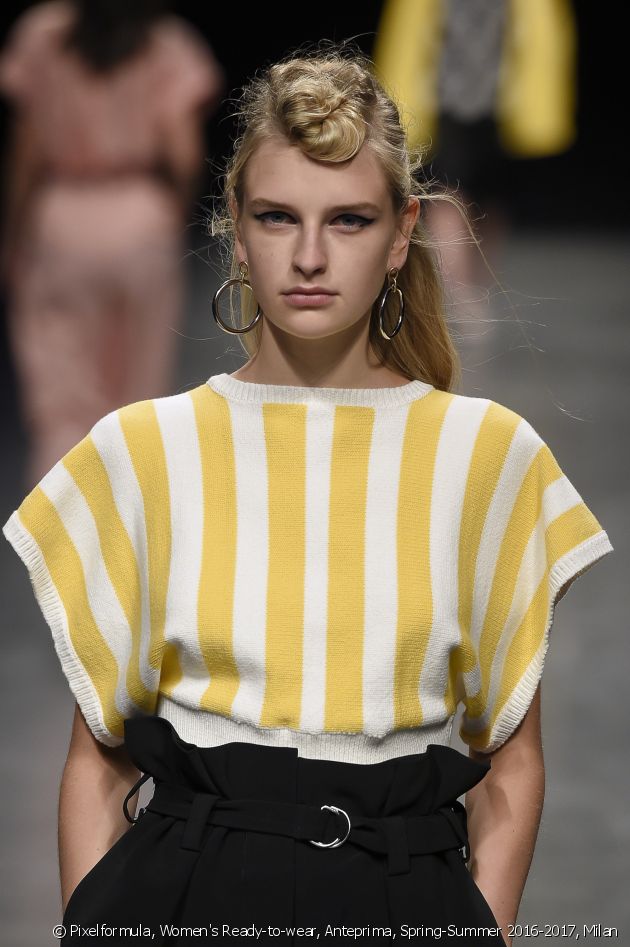
Coiled chignons, top knots, XXL donuts… The bun has become a real mainstay and it comes in a variety of different versions. The latest look? The “front bun”, heavily inspired by the Elvis quiff. Spotted on the Spring-Summer 2017 catwalks, this hairstyle is fast becoming a favourite among fashionistas.
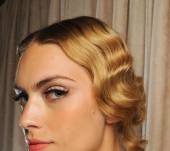
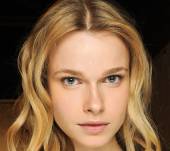
The “front bun” is a section rolled into a chignon at the front of the head, going over the forehead little. The tight version gives a retro chic feel to the look. Rolled into a bouffant chignon , it gives the hairstyle a rock chick edge. When more floaty, it creates a more casual style…In every situation, the “front bun” gives a fashionable twist to a look.
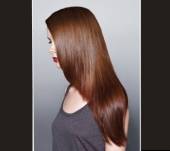
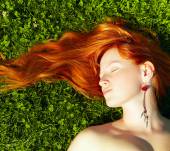
For those with a relatively wide forehead who can gather the front strands together to form a chignon. As for your hair type, ideally your locks should be relatively thick so that the chignon holds without being XXL. However, if your hair is lacking in volume , use a foam donut. On straightened hair, the “front bun” looks sophisticated. On natural locks, it looks more laid-back.
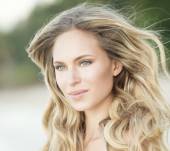
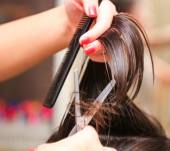
To successfully create this hairstyle you will need a comb, two transparent elasticated hairbands, wavy hair grips, a toothbrush, texturising powder and hairspray.
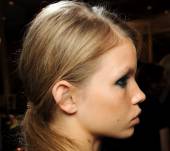
● Separate your hair into two by marking out a horizontal parting from one ear to the other. Tie up the upper section into a ponytail on the hairline (it can be in the middle or on the side, it is up to you) with a transparent elasticated hairband. Leave the lower section for now as it will stay loose.
● If you want big hair or you have fine hair, feel free to backcomb the ponytail before continuing with the tutorial.
● Twist the ponytail into a coiled chignon on the hairline of your forehead and tie it up with an elasticated hairband.
● Hold the hairstyle in place by sliding in wavy hairgrips at the base of the bun.
● Run a toothbrush over your locks against the direction of hair growth, if you want to reinforce the de-styled aspect of the bun.
● Give body to the rest of your hair by sprinkling on some texturising powder.
● Spritz on hairspray for maximum hold.
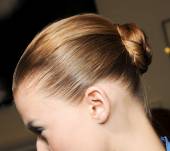
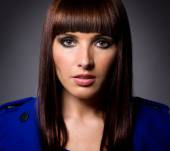
To create this hairstyle, you will need a brush, gel (extra strong if your hair is particularly thick), a fine-tooth comb and two transparent hairbands. Note that it will also be easier for you to keep an eye on how much product you apply by starting off with dry hair.
● Brush your hair to detangle it.
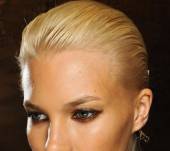
● Evenly spread out one or two squirts of gel, from the roots down to the tips, to get the wet look. Use a fine-tooth comb for the best smoothing effect.
● Tie up half of your hair into a ponytail on the hairline of your forehead with a transparent hairband.
● Twist the ponytail to get a tight coiled chignon .
● Finish it off by holding the hairstyle in place using another elasticated hairband and wavy hair grips.
Choose whichever version you like depending on your mood. Either way, your look is far from ordinary.