France
 Spain
Spain
 Italy
Italy
 Polska
 Portugal
 Mexico
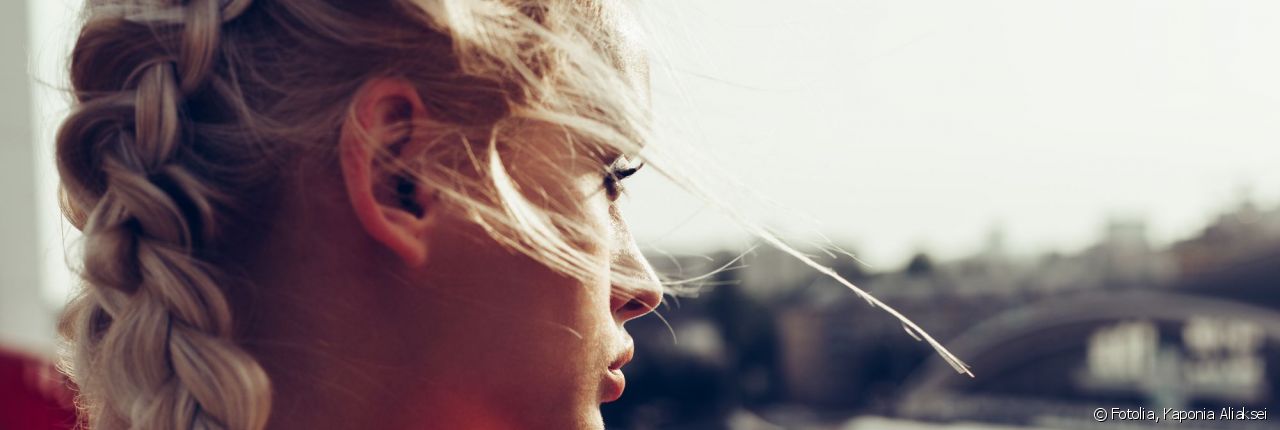
[Step by step]: how to create cornrows?
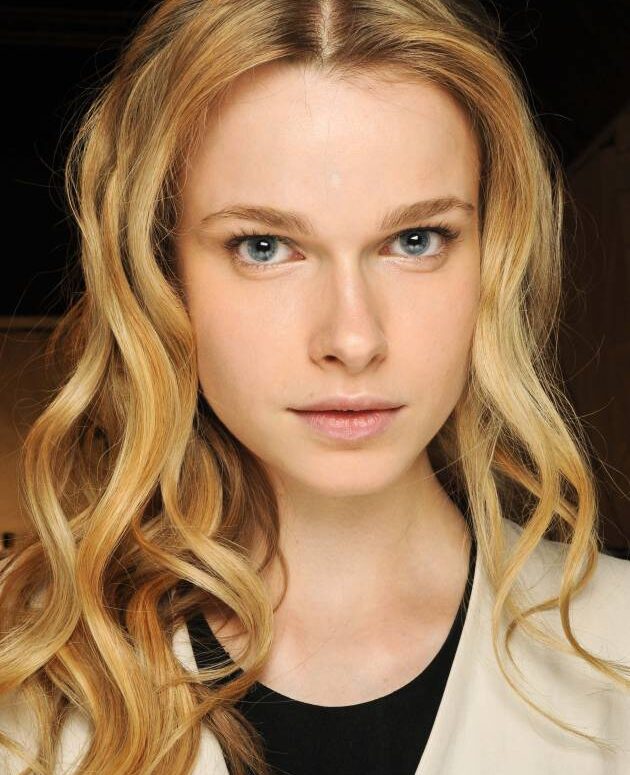
A must-have hairstyle from the 90s, cornrows, or braids are back. And the new twist? Less braids but more volume. Follow our advice to get started!
Step 1: detangle your hair

Whether you have fine, thick, long or mid-length hair, we all face the same problem: any slight knot risks making your hair difficult to style. To properly detangle your hair , use a brush followed by a wide tooth comb. If required, use detangling treatments and apply them from midway down to the tips. To facilitate this stage, it is best to have damp hair (the braiding phase will be so much easier when catching hold of any small pieces of hair). Would you prefer to create your hairstyle on dry hair? That also works! A little tip: consider straightening the first strands to catch your hair more easily.
Step 2: mark out a parting
The 2016 trend is the double cornrow: two African braids on either side of the head. Once you’ve untangled your hair, simply mark out a middle parting. If you wish to multiply the amount of braids, you just need to mark out several partings: you will use each sectioned off strand of hair to form a cornrow. Before you start braiding, separate your hair and tie up the section you won’t be styling. This is more practical and will prevent knots forming.
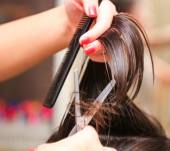
Step 3: braid your hair

Start by taking a strand on the side or on the top of your head: this will determine the direction of your braid. Divide the strand into three equal sections and create a braid passing the hair underneath (we spoke about this technique in our African braid tutorial. ) This is what gives relief to your hairstyle. Continue forming your braid by gathering up strands from the right and left hand sides, bringing them back to the centre: a guaranteed way to ensure your braids are flat to your head. A little tip? Regularly pull them tight so the cornrows remain even.
For an even more aesthetic finish, take time to tie your strands at the end. Tie your first braid with a transparent or a tone on tone hair tie to match your hair, and do the same thing on the other side. The final touch: hairspray to add a bit of shine to the hairstyle.
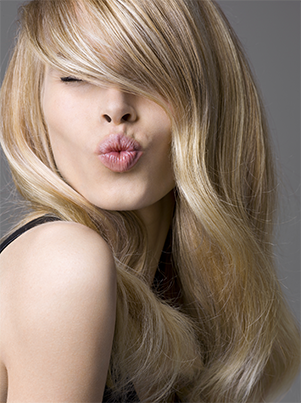
After XXL braids, adopt pretty curls! When you undo your cornrows, do it gently: you will obtain beautiful waves (all without using heat! ). Our tip? Loosen the curls with your fingers.
You would also like...
-
 Hairstyle
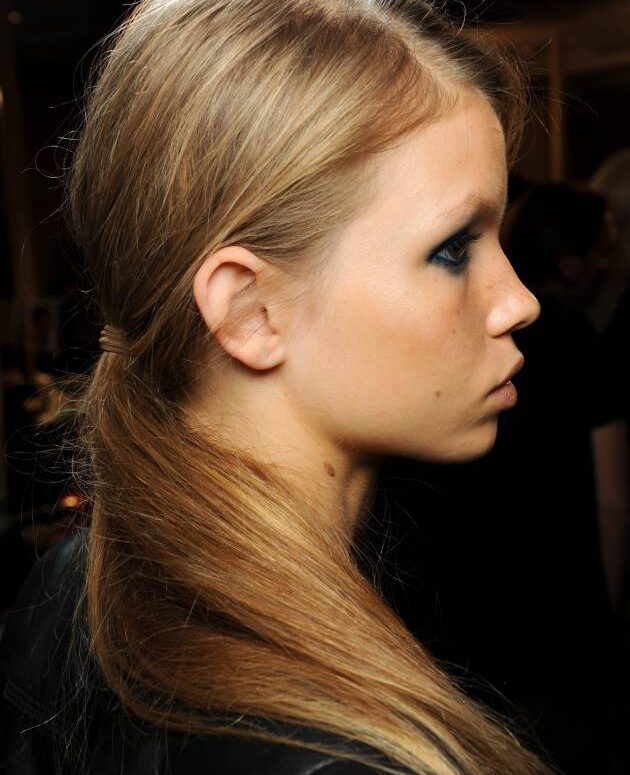
Spring ponytail
The ponytail is loved mostly for its practicality. In a few seconds, you gather up your hair, tie it up and voilà, your hair is done. But remember that depending on where you place it,…
Hairstyle
Spring ponytail
The ponytail is loved mostly for its practicality. In a few seconds, you gather up your hair, tie it up and voilà, your hair is done. But remember that depending on where you place it,… -
 Hairstyle
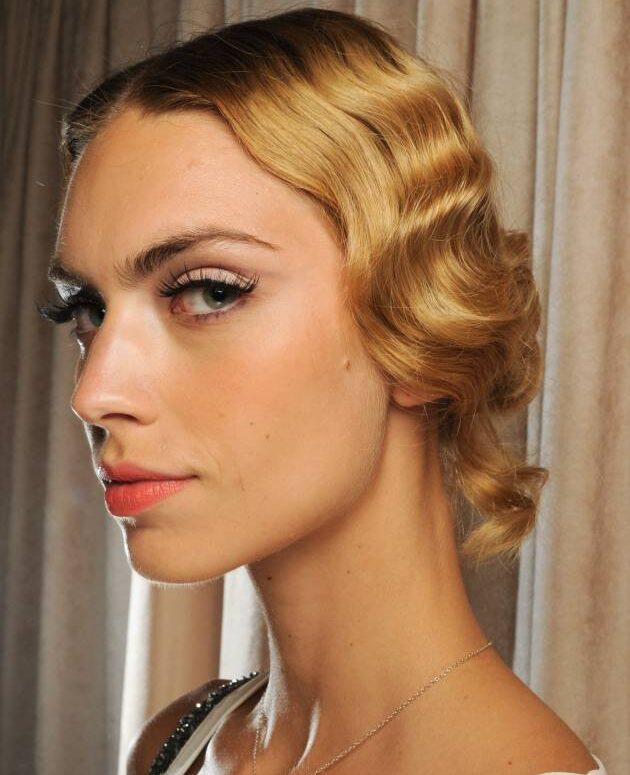
Crimps for a retro hairstyle
In the past few seasons, retro hairstyles have rediscovered their elegance in the form of some chic and sensual shapes. Here is a focus on these vintage crimps. Crimped hair, 1920s style. This crimped retro hairstyle…
Hairstyle
Crimps for a retro hairstyle
In the past few seasons, retro hairstyles have rediscovered their elegance in the form of some chic and sensual shapes. Here is a focus on these vintage crimps. Crimped hair, 1920s style. This crimped retro hairstyle… -
 Hairstyle
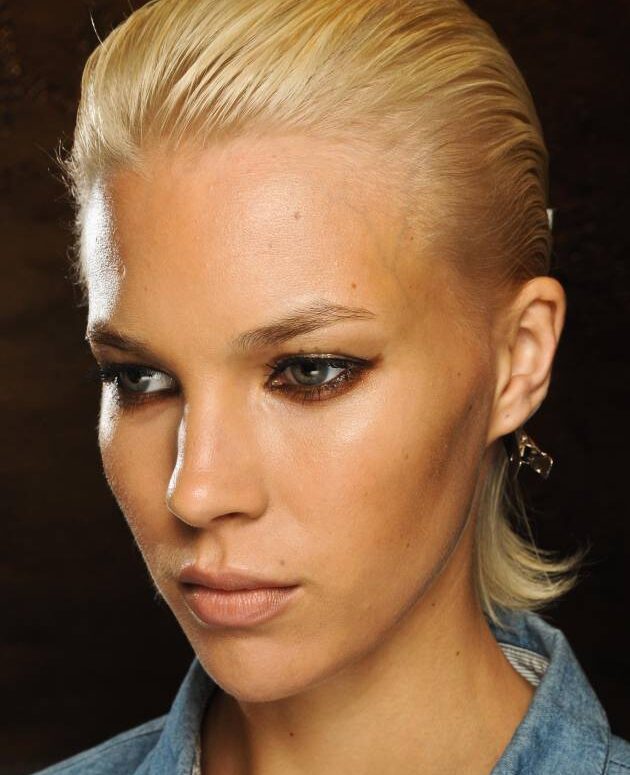
The wet look, still stylish
The wet look style reminds us of the end of a day at the beach or leaving the swimming pool. It’s the hairstyle to adopt this summer if you want to look like a mermaid.…
Hairstyle
The wet look, still stylish
The wet look style reminds us of the end of a day at the beach or leaving the swimming pool. It’s the hairstyle to adopt this summer if you want to look like a mermaid.… -
 Hairstyle
Give me wavy hair, quick!
When you think of curly and wavy hair, do you struggle to see what the difference is? Time to set this straight! Give the wavy effect a go for an ultra-natural look and subtly defined,…
Hairstyle
Give me wavy hair, quick!
When you think of curly and wavy hair, do you struggle to see what the difference is? Time to set this straight! Give the wavy effect a go for an ultra-natural look and subtly defined,…

Not to be missed
-
 Hairstyle New: Urban Style Perfect Curls
 -
 Hairstyle Fringes come in all lengths
 -
 Hairstyle Focus on Japanese straightening
 -